Showing posts with label diy. Show all posts

Tuesday, February 14, 2012

Craft Corner: Easily Changeable Photo Frame

I made this almost two months ago but just saw it on Pinterest again and was reminded I never posted it. So here you have it, a photo frame with an easily changeable picture. I made these for my mom and mother-in-law for Christmas with a picture of baby L's sonogram (at 12 weeks, tiny peanut!), knowing they'd want to update with actual pictures once she's born.

What You'll Need

  • Picture frame (I got mine for $5 at Michael's)
  • Clothespins or Magnetic Clips
  • Paint (depending on what you use as your clip, you'll either want paint that's suitable for wood or metal, like Rust-Oleum)
  • Exacto Knife (Scissors will work if you don't have an exacto knife)
  • Scrapbook Paper and Glue OR Adhesive-backed Fabric Paper*

This might be the coolest thing ever.
I found it by chance at A.C. Moore,
and I'm really hoping it wasn't a one-time thing

What You'll Do

  1. Remove the glass from the frame
  2. If you want to paint the frame, go ahead and do that and paint the clip to match. I used a white frame so I just painted the clothespin white, making sure to squeeze it open before it dried completely shut
  3. Trace the glass onto the scrapbook paper and cut with an exacto knife
  4. If using regular scrapbook paper, use acid-free glue (either spray adhesive or a glue stick would work); If using adhesive-backed paper, peel back off and press to glass
  5. Replace glass in frame once all parts are dry
  6. Measuring the center with a tape measure or ruler, use a hot glue gun (or super glue) to affix the clip to the paper-covered glass. Depending on what size picture you want to use, you can either do this vertically or horizontally, but I recommend doing it close to the top of the frame
  7. Once EVERYTHING is dry and stable, clip in your picture and change it as many times as you want!


Tuesday, October 25, 2011

Craft Corner: Aubrey's Wedding Gift

I started to post this last week, then remembered that Other Aubrey follows me and I didn't want to ruin the surprise! I made this invitation ornament based on an idea from - you guessed it - pinterest.

The photo was originally pinned by ...from glitter to gumdrops and there's a lot of sweet ideas on there. And they're simple. Y'all know how I need love simple.

So here you have it:

What You'll Need

  • Round, Glass Ornaments that have a removable top (available at Michael's in a 4-pack)
  • The Invitation in question (could be wedding, baby shower, anything!)
  • Scissors
  • Coordinating Ribbon
  • Round Straight Pen


What You'll Do

  1. Remove the top of the Ornament
  2. Cut the invitation into strips; I used each line of the invite as a strip
  3. Curl each strip around the pen
  4. Gently "shove" them into the small hole in the ornament, taking care for special words (their names, the date, etc) to show on the outside glass; you can use the pen to move them around if necessary
  5. Replace the top
  6. Tie a coordinating ribbon through the top of the ornament to hang it and include coordinating charms on ribbon (optional)


Ta Da!

Tuesday, October 11, 2011

Craft Corner: Hand Painted Wine Glasses

It's a general consensus that Whitney over at The Pink Elephant must never sleep. Somehow, between working 75-hour weeks, hitting the gym, and attending 34 weddings a year, she finds time to craft, paint, cook, create, refurbish and dress up her little dog Olivia in hilarious costumes. I don't know how she does it!

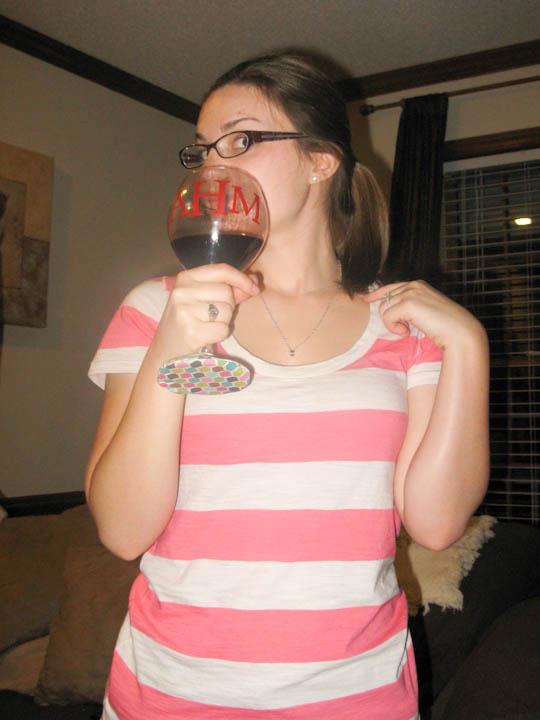
But, lucky for us, she shares her secrets. And lucky for me, I'm a pretty good copy-cat. So here you have Whitney-inspired hand-painted wine glasses, that I made as my secret seashell gift for other Aubrey.

What You'll Need

  • (4) Wine Glasses (I got mine from the dollar store!)
  • Glass Paint & Sealant (available at A.C.Moore)
  • Thin Paint Brush
  • Print out of monogram you wish to paint


  1. Tape the monogram inside the wine glass, with the letters facing out toward you
  2. Using the print-out as a stencil, paint with your desired color of glass paint
  3. Let dry for recommended period (I think it's probably overnight, but the paint should say)
  4. Repaint with sealant
  5. Let dry for 10 days


Whitney used these as a bridal shower favor, mine was a gift for a friend who's about to get married ... either way, it's an inexpensive yet thoughtful - and useful - gift!

Tuesday, October 4, 2011

Craft Corner: Wine Cork Monogram

Even before I knew it, I loved pinterest. I had girlfriends send me photos, ideas, recipes, etc. from there all the time. The Wine Cork Monogram I made for Aubrey is a perfect example.

Before we go any further, I should mention, in case I haven't already, that yes - my name is Aubrey. And yes, this is a relatively unusual name, especially for women, and especially for women of my general age range. And yes, one of my best friends from age 15 until present is also named Aubrey.

Now then, back to the Wine Cork Monogram. This was a gift from me to other Aubrey for homemade Secret Seashell. And I think it's a-dor-a-ble (and so is other Aubrey) and so easy to make. 


What You'll Need:
  • Cardboard
  • Scissors
  • Print-out of letter(s) you wish to make
  • Glue Gun + Glue Sticks
  • A Shit Ton Lot of Wine Corks
  • Picture hanger, available at any craft store
sawtooth picture hanger, should come with 2 nails
  1. Cut the cardboard to fit the template of the letter you want. Hint: The thinnest part of the letter should be slightly thinner than a wine cork, so the cardboard doesn't show.
  2. Place the corks to ensure you have enough
  3. Fire up your hot glue gun and get to work!
  4. Once complete, place a heavy book or other flat object on top to ensure they're drying flush to the cardboard
  5. After they're totally dry (shouldn't take more than 15-20 minutes but you can leave for a few hours just to be sure), nail in the picture hanger to the back
Again, I must give credit to The Elephant's Trunk, the blog that originated the idea for me, put in my field of knowing by Caroline. Also, to Sara Cobaugh who supplied 99% of the wine corks.


Monday, August 29, 2011

Craft Corner: Baby Alphabet Book

Not so much a craft as it is a project, but still, a little DIY action never hurt nobody.

Something you should know about me: My design-minded friends be damned, I use the heck out of some Microsoft Publisher.

It started with a welcome banner for my assistant, which evolved into a variety of banner types for every occasion: bridal showers, bachelorette parties, birthdays, baby showers (and births) ... even a welcome-home-dog-who-ran-away banner. I am the go-to girl for party decorations in our department, a title I take very seriously and may be featured on the next iteration of my resume.

But I digress, this post is about the Baby Alphabet Book project we did for Grace's shower. It was specifically requested by the DIY queen herself, Leslie, and I'm happy to make anyone's "job" easier by sharing the documents I already created. Of course, feel free to adapt these templates with font changes or sizes to fit your needs.

What You'll Need:

  • Scrapbook (preferably not the 12x12 books, as that will be a challenge to print)
  • Printer
  • Microsoft Office Suite
  • 26 Sheets White Paper (color copy paper is slightly thicker)
  • Art Supplies: Markers, Crayons, Stickers, Stamps, etc.
  • Scissors or Paper Cutter (I have one from scrapbooking) 
  • This Template


So easy, and stuff you already have (minus maybe the scrapbook, I used a pink 8x8 book from Michael's for this baby girl with a 40% off coupon). Just print the sheets, cut them to the size of your book, and let the guests expose their hidden talents. Make sure you ask all the artists to sign the back of their page so Mom can tell Baby who made each letter, and TA DA! you have a personal record of all the shower attendees that will be enjoyed by Mom and Baby alike.